
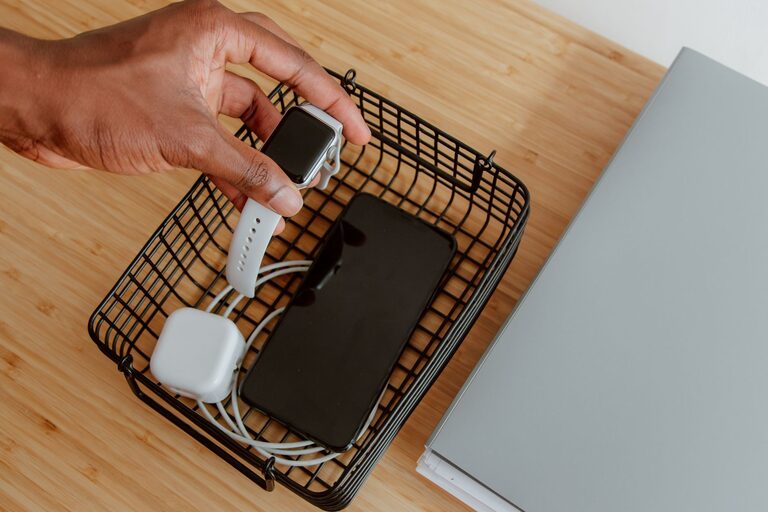
Setting up a dedicated charging station for your devices is a great way to keep everything organized, reduce clutter, and ensure your gadgets are always ready to use. Whether you want a spot in your living room, bedroom, or office, a well-planned charging station makes daily life easier. This guide will walk you through the process step-by-step, helping you create a neat, efficient charging area tailored to your needs.
Why Set Up a Charging Station?
With an increasing number of devices like smartphones, tablets, smartwatches, and wireless earbuds, charging can become chaotic. A dedicated station:
– Prevents tangled cables and lost chargers
– Saves space by centralizing charging
– Makes it easy to find and power up devices
– Protects devices from damage or clutter
Step 1: Choose the Right Location
The first step is to pick a convenient and accessible spot for your charging station. Consider:
– Accessibility – Choose a place you use often, like your desk, bedside table, or kitchen counter.
– Power source – Look for nearby power outlets to avoid long extension cords.
– Safety – Avoid spots exposed to moisture or excessive heat.
Step 2: Decide What Devices to Include
Make a list of devices you want to charge regularly. Common ones include:
– Smartphones
– Tablets
– Laptops (if supported by your charging solutions)
– Smartwatches and fitness trackers
– Wireless earbuds or headphones
– Portable battery packs
Knowing your devices helps you determine the number and types of chargers and cables you’ll need.
Step 3: Select Charging Equipment
There are many options for creating your charging station, including:
Multi-Port USB Chargers
These chargers can handle several devices at once, often supporting fast charging for compatible devices. Look for chargers with enough ports to cover your devices plus extra for visitors.
Wireless Charging Pads
For devices that support wireless charging, pads or stands reduce cable clutter. Some models allow charging multiple devices simultaneously.
Charging Docks and Stands
These come in organized designs that hold your devices upright while charging. They often combine wired and wireless options.
Surge Protectors and Power Strips
Choose power strips with built-in USB ports and surge protection to safeguard devices.
Step 4: Organize Your Cables
Cable management is key to a tidy charging station. Tips include:
– Short cables to reduce tangling
– Cable clips or holders to keep cords in place
– Velcro straps or twist ties to bundle excess length
– Labeling cables if multiple similar chargers are used
Step 5: Set Up Storage and Extra Features
Consider adding elements that enhance usability and aesthetics:
– Small trays or boxes for storing wireless earbuds or accessories
– Decorative stands or shelves to match your décor
– LED lights for visibility at night
– Ventilation if charging multiple devices to prevent overheating
Step 6: Assemble Your Charging Station
Now that you have all components, assemble your station:
- Plug chargers into the power source.
- Arrange devices in their spots or on stands.
- Use cable organizers to route cords neatly.
- Test each device to ensure it’s charging correctly.
Tips for Maintaining Your Charging Station
– Regularly clean dust and debris.
– Check cables for damage and replace if necessary.
– Keep software updated on smart chargers for optimal performance.
– Periodically reassess devices included and adjust your setup.
Conclusion
Creating a charging station doesn’t have to be complicated. With thoughtful planning and the right tools, you’ll have a neat, efficient spot that keeps your devices powered and organized. Whether for a busy family or a home office, a charging station is a small investment that pays off in convenience every day. Start with these steps and customize your setup as your device collection grows.
About the Author